Pinning a window is always handy. Now, this can be anything related to work like pinning a calculator window on the top while calculating all our expenditures or doing your office work or even homework from school, who would know? Today you will learn how to have an always-on-top Window in Windows 11 using solutions such as AutoHotKey and DeskPins.
Unfortunately, this function is not supported by Windows natively but we can find many third-party applications in the market with the help of which we can enable such convenience.
How To Always Keep Windows on Top in Windows 11 (2 Easy Methods)
Pining Windows on Top with DeskPins
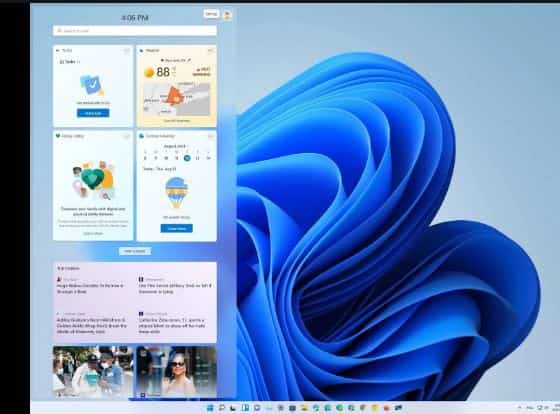
This is a lightweight software that is open source. With this, we can pin any window to always appear on the top of the desktop with a simple mouse click. Nothing can be this easy.
It comes with one downfall as it has been made by an independent developer there has been a lot of time it has not received any update however it still works great on modern Windows systems.
RECOMMENDED: AutoHide your mouse cursor in Windows 11 with a shortcut.
How to use DeskPins to keep Windows on top
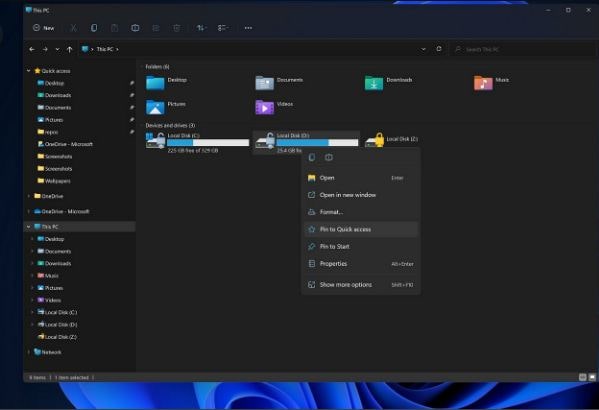
In under a minute, we can install these for Windows. This is quite a fast, easy and straightforward process.
- Go to efotinis.neocities.org/deskpins.
- Scroll down to see the “downloads” section.
- Once done, hit “DeskPins v1.32” (version might vary) to get the setup file.
- Download to the download directory and double hit “setup file” to run setup.
- From here, hit “next” to proceed.
- If you want to change the installation directory then click on the “browse option” from the window and use Explorer to find it, else hit the “installation” option to commence the process.
- It shall take a few minutes on your system. Once done, you shall be notified by the setup window.
This is very simple to use. It works without any noise in the background and works its best.
Once it has been installed on your system you need to:
- Go to “start menu”.
- Click the “all apps” option there from the top right side of the flyout.
- Go down click on the “DeskPins” application to launch it. It gets launched minimized.
- After this, bring the windows you want on top. Once done go to the “extended system tray icon menu”, and click on the “DeskPins” icon. The cursor shall transform into a pin.
- Click on the window’s title bar, a red pin shall be displayed beside the minimize option which states that the window has been pinned. As an alternate, you can hit “Ctrl + F11” from the keyboard to change the cursor to pin and then click on Windows to keep it open always.
- Manually if we want we can also minimize the pinned windows without even affecting the “always on top” status which when we maximize shall be resumed.
The “AutoHotKey” is made for you if you are not sky from some little scripting and getting into something “nerdy”. Today, we can create customized shortcuts with the help of open-scripting language and never click the mouse during a work session.
ALSO CHECK: Disable Windows 11 Hibernation After Sleep.
Use AutoHotkeys Keyboard Shortcuts
This is an open-source language that scripts for free on Windows which provides users with easy creation of keyboard shortcuts as well as software automation to automate repetitive tasks on both Windows and Windows apps themselves.
It carries a syntax that is designed so that no matter whether you are a newbie or a professional you shall be able to create a shortcut linked to an action by suiting their exact and required needs.
As this is a scripting language you need to download it and do nothing else. It needs a script to tell it what actions to perform like a plain text file with .ahk as its extension.
These can be assumed as batch or configuration files but carry more tools at their disposal. The script is used to perform a single action specified by and make an exit or it can even have a series of actions performed when a certain shortcut is pressed from the keyboard.
This is a straightforward process that can be installed by using a .exe file like any other application.
ALSO CHECK: How To Setup Wireless Pen Settings in Windows.
How to use AutoHotKeys for Window Pinning (6 small steps)
- Visit their official website.
- Hit the “download” option from the center of the page, this shall expand into three tiles.
- After this, click the “download current version” tile. The process of downloading shall start in a few moments.
- Once done, go to the downloads directory and double-click “exe file” to run the setup.
- After the setup window, click “express installation tile” to install AutoHotKey. If you want to change the install directory, hit the “custom installation” tile.
- The “express installation” setup shall take a few seconds to install language on your system once this is done you shall be informed by the setup windows. Hit “exit”.
Once this language has been installed on your system pinning the window becomes a straightforward process. Although it needs some scripting it by no means it is difficult, so you can also disable it if you wish.
- Go to “Desktop” and click right anywhere on the space.
- Go to “new option” and from the menu select AutoHotKey.
- Give a name to this file and hit “enter” for confirmation.
- After this click right on the file that has been created and go to the “open with” option, after this select “notepad” from the list to edit the file.
- Next type or copy+paste the command “^SPACE::Winset, Alwaysontop, , A”.
- Click the “file” tab at the right corner of the file and select the “save option”. You can also press the Ctrl + S shortcut from the keyboard to save it.
- Exit and double-click it. Now, you can pin any window by simply pressing Ctrl + Space from the keyboard.
- You shall notice the green icon in the tray icons once the script begins. to disable it temporarily you need to right-click it > select pause this script option.
ALSO CHECK: How To Disable the Windows Key in Fortnite.
Conclusion – Do you keep your Window always on top in Windows 11
We all love to work in our ways in our workplace. This is why you would like to know how to always stay on top of Windows 11. It is not that hard to do with our 2 different methods, which are as easy as making an egg! You can also disable it entirely if you wish, but that all depends on your needs if you want to always keep the folder on top.


