
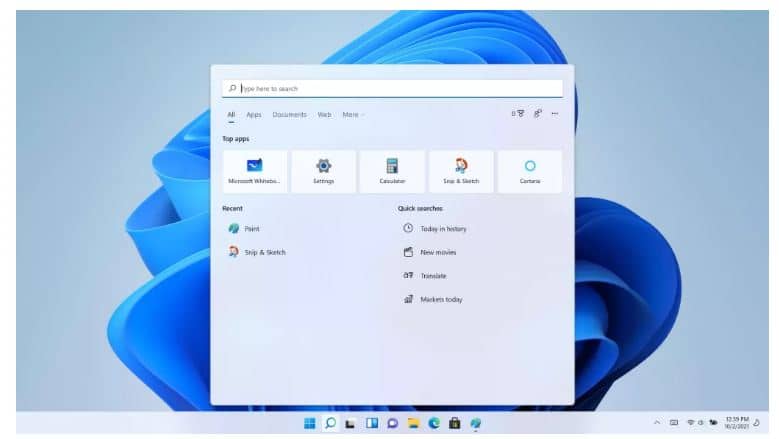
We all know that Microsoft has released its new OS and over many stories, it is true that it sports a sizeable upgrade over its predecessor.
It carries a simple design that enhances productivity and user experience. One thing we have seen regarding the drag and drop feature that it could be updating is that it was present in Windows 10 and not in Windows 11, we have 4 methods here that you can use to enable it and fix it if it stops working.
Many thought this was an initial bug but later learned it was meant to be like this in the new version. However, don’t be disappointed as Microsoft will bring back this feature and be available to all this year. We can still revive this in the current version thanks to some third-party developers and Modders.
So if you are curious and don’t want to wait, follow through to know everything.
About the Drag and Drop Feature in Windows 11
This feature has been used by users almost every day as it allows them to:
- Organize files, folders and other important stuff through simple mouse movements.
It provides more ease than cutting and pasting each item from one place to another individual.
It was discontinued in the new version which became quite a controversy but after many requests, Microsoft has planned to bring it back and is restoring it to the taskbar at some point this year.
4 Ways on How to Enable Drag and Drop in Windows 11
#1 – Use Alt and Tab
- You need to press and hold down the button on the mouse to grab the file you wish to drop.
- Drag it and hit “Alt + Tab” from the keyboard while holding the Alt and mouse buttons at the same time to navigate between the files. Release it once done.
- Release the mouse button to drop the file.
#2 – Install Windows11DragAndDropToTaskbarFix App
Enjoy this feature in the new version 11 thanks to third-party developers. For this, you need to download some files from third-party sources from the internet.
- You need to visit the “GitHub page”.
- Once there, locate and click on the “Windows11DragAndDropToTaskbarFix.exe” file to get it.
- After the download is over, open and run the downloaded file.
If you get “VCRUNTIME140_1.dII was not found” errors then you need to follow the steps mentioned below:
- For this, you need to go to ^ icon present on the taskbar to open the system tray.
- After this, you need to click on the “Mona Lisa” icon, the Windows11draganddroptotaskbarfix icon.
- Next, drag a file and then drop it to Photoshop or any application present on the taskbar.
- You shall notice that this feature has been enabled.
This does not provide support to pinning applications or software to the taskbar by using the drag-and-drop gesture.
Moreover, if you wish to configure the startup action of the app then for this you need to hit the “Mona Lisa” icon and then choose “configure”, after this the notepad shall open. For this to run on the startup automatically you need to keep AutomaticallyRunThisProgramOnStarup=1 as it is and to run it manually change it to 0.
ALSO CHECK: DiskPart Partition and Formatting Commands List.
#3 – Tweak Windows Registry
By making a system restore point in the Windows registry editor we can both enable and adjust drag-and-drop sensitivity settings.
- From the keyboard, you need to press “Windows + R”.
- The command box shall open.
- In here type the following and hit “ok”
regedit
- You shall see the Windows Registry Editor on the screen.
- After this go to the following path
HKEY_LOCAL_MACHINE\SOFTWARE\Microsoft\Windows\CurrentVersion\Shell \Update\Packages
- Next, click right on the blank white space there on the right navigation pane/
- In here you need to select New > DWORD (32-bit) value.
- This shall create new value in Registry Editor.
- Click right on this.
- Then you need to select “rename”.
- Rename this as follows below:
UndockingDisabled
- Right-click on this.
- Then choose “modify”.
- Change the value from 0 to 1.
- Hit “OK” to save settings.
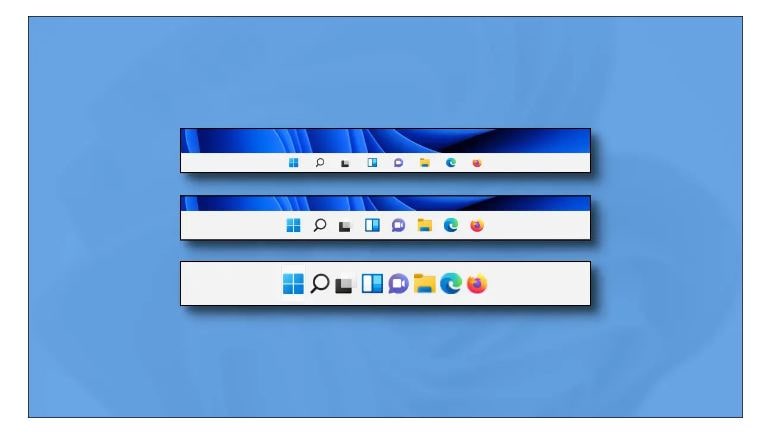
Once done restart your PC, once back on you shall see that the taskbar shall appear the same as in version 10 and the drag and drop feature function shall be restored on the system.
Note: It has one drawback: start, search and Cortana shall not be able to open from the taskbar. Icons shall be there but you shall not be able to launch them.
To disable this and revert, head towards the registry editor to the same folder mentioned above and then hit “UndockingDisabled” and delete it. After this, you need to restart your system, and it will return to normal in no time.
#4 – Use Drag and Drop Toolbar App
At times, what happens is that we need to download some of the apps to make basic features of our system run; however, as this feature does not return anytime soon you can download the drag-and-drop toolbar for version 11. This shall add a replicated taskbar to the top of the screen automatically.
Now, to configure and use this for Windows 11 you need to follow the steps below:
- You need to first install the toolbar for your PC or Laptop.
- Once done, you shall see a new taskbar allotted at the top of the screen.
- After this, you can drag and drop any file onto it and transfer it to the destination folder.
ALSO CHECK: Folder Thumbnails Not Working in Windows 11 and how to configure them.
Fix Drag and Drop not working in Windows 11
If you encounter such a problem, you need to click and right-click on the files and folders but keep in mind that you cannot drag and drop them anymore. We have seen this issue personally and after doing a lot of research we have found one which has worked in different cases.
At times, you might not be able to drag the file from one place to another with the help of the mouse even though the mouse and Windows are working fine as well except for this.
This issue seems to be seen in both versions 10 and 11, and we stumbled upon it when running virtual machines in VMware Workstation Player for VirtualBox. Still, unfortunately, we don’t know the cause behind such an issue plus were not able to find any documentation from Microsoft underlying the issue as well.
Do a Left Click on any of the files, Keep the Left Click Pressed on your mouse and Click on Escape on your keyboardWhen the basic option is not working, you need to click left on the file in File Explorer and keep it pressed. As it is held down hit escape from the keyboard once, after this you need to release the left-click mouse button and then try performing it again. This worked for us and would work for you as well.
You can try another fix, which is to restart your windows. Another is to cut and paste with the help of the mouse you intend to drag and drop. If both of these did not work out for you, you might be facing driver issues, corrupt system files, or something else.
ALSO CHECK: Quick Access Toolbar Not Showing in Windows 11.
Final Words
Drag and drop is a great feature that was part of Windows 10 however it looks to be not the same or removed from Windows 11! However, worry not as we shared 4 different methods to manually enable it and fix it if it is not working or showing for you. Before you go, please leave feedback in the comments section.
")

")
")


 Free Download For Windows 10/11")
")
")
")