A popular game developed by Mojang in the year. It is a sandbox game for PCs, mobile devices, and many console platforms. For now, more than 127 million people play it. This is an insane number. This is why we bring you the Minecraft Windows 11 Edition download and installation guide for all loyal players.
It was bought by Microsoft in 2014 for $2.5 billion, since then it has been releasing different compatible editions. Minecraft for Windows 11 is designed with direct storage optimization for faster frame rates.
This bedrock edition allows cross-platforms across different devices like iOS, Xbox One, Android smartphones, Play Station and Nintendo Switch. Now, this edition is also available for the new version systems and works great on the latest operating system. Follow through to learn how to download and install the latest version of Microsoft.
Minecraft Windows 11 Edition Download and Installation
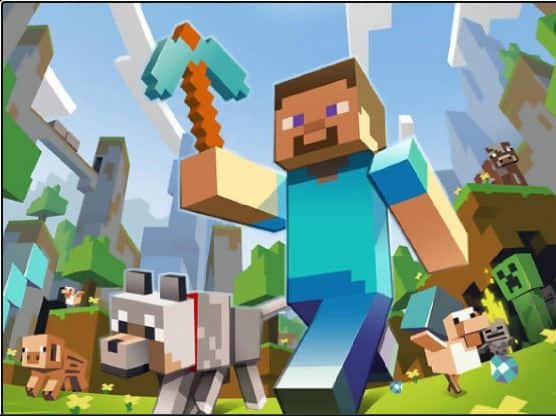
For those who do not know Minecraft itself is a huge 3D world in which gamers can build, craft, mine, battle, and explore. This in actuality is an infinite virtual land made up of cubic blocks where the players can create their very own worlds and have great experiences.
Download and install it for version 10 (bedrock) editions through its site or even the Microsoft Store, but remember that you can only get the Java edition from its official site.
Minecraft for Windows 11 in the Microsoft Store
- In “Search”, search for “Microsoft Store”.
- Open it.
- Here, search for “Minecraft” in the search bar. You shall get different versions of the game.
- You must select from 3 versions; Minecraft Master Collection, Minecraft (only provides a free trial), and Started Collection.
- From the result, click the “Minecraft Windows 11” edition to try it before purchasing.
- The Bedrock edition shall cost you $29.99.
- Hit the “money” option, select the payment method, and buy the game.
- Click on “free trial” to try it all for free.
- Once done, it shall begin to download.
- Hit the “play” button to begin the game or in search, you can search for “Minecraft” and select an application from the result that appears to launch it.
- Once it gets loaded, hit the “play” option.
ALSO CHECK: Best Flash Games and Sites Recommended To Visit.
Minecraft Bedrock Edition
- Go to minecraft.net official site.
- After this click on the “games” option at the top of the page and choose “Minecraft”.
- For a free trial, click the “try it free” link at the top.
- Click “Windows logo” on the next page to get a trial version.
- If you wish to buy the game, click on “Get Minecraft” button on the homepage.
- On the next page, you must choose the device (in such case “computer”).
- After this, select the platform which is “PC”.
- Select edition > Minecraft: Windows 11 Edition to get Bedrock edition.
- Next, select either the “starter collection” or “master collection”, and hit “buy” to go to the order summary page to buy the game.
- If you are getting it for version 10 edition, you should buy it from the Microsoft store as you shall get a good price and get cost in currency. If you purchase from the official site, a dollar to your currency conversion could be high and out of your budget.
ALSO CHECK: Strategy PC Games For 1 GB RAM PC.
Minecraft Java Edition for Windows 11

- Go to its official website.
- Click on the “games” option at the top of the page, and select “Minecraft”.
- Click on “try it free” link.
- Go down and click on the “download now” option under Minecraft: Java Edition for the Windows section.
- Select a destination and save the installer.
- To install the installer double click it.
- In the setup, hit “next”.
- After this, select where to save it using the “change” option and hit “next”.
- Click on “install”.
- If user account control seeks for permission then click on “yes”.
- Hit the “finish” button.
- This shall update its launcher and open it.
- In here you shall use either the Microsoft or Mojang account to log in. If you do not have any, click the “create new Microsoft account” link to make an account.
- Enter your username and hit “next”.
- Enter the password and click on “sign-in”.
- You shall see a welcome page with a username randomly generated.
- Once logged in, it shall take you to its home page where you can manage the account, buy some skins, change settings and install mods.
- Click “play demo” to download game files for the trial version.
- It shall begin to download the game files.
- Once downloaded, you can play the game.
- This is a demo version, it shall last “five in-game days” or about “300 minutes”.
If you want to see if your system can handle it, try out the trial version. Once this is over, you must make a complete purchase if you want to continue playing.
ALSO CHECK: Best Games for Slow and Old Windows 7 computers.
How To Install Minecraft Full Edition on Windows 11
- Go to its site.
- Click on the “get Minecraft” button.
- Select the device (computer).
- Next, select “platform”.
- After this select “java edition”.
- In the end, click on the “buy” button.
- This shall redirect you to the order summary page. Here, select the country or region and the payment method. Buy the game for around $26.95.
- Once payment is made, you shall get a download link to set up the launcher.
- After this install and configure the launcher to play the game.
ALSO CHECK: Alternatives To Hamachi for Minecraft.
Conclusion: Minecraft for Windows 11
Without a second thought, Windows 11 is the best OS for gaming. This is why gamers go for it and popular games including Minecraft Windows 11 edition are famous. I hope you have learned how to install the different versions and get them from the Microsoft store as well. Have fun playing!
")
")


 Free Download For Windows 10/11")
")
")
")