
Many people especially non-native English speakers prefer to watch a movie or a TV program in a different language. Even native speakers of English need to use them if it is in some other language.
In a normal case, you download them from one source and subtitles from another, this is where the problem arises as the media and file might not always sync. You may see them before or after the dialogues. This annoys the user a lot.
Now, let us show you 3 different methods to permanently sync subtitles with movies!
3 Ways To Sync Subtitles With a Video or Movie Permanently
Syncing Subtitles using VLC Media Player
- It is a must without saying that you need to install a VLC player.
- Then, add the file to it by right-clicking > Add subtitle.
- You need to press the “key H” to delay it and “key G” to forward it.
- A single keystroke moves it either forward or backward by 50 milliseconds.
- To increase the delay, press the keys repeatedly.
So, this is what you have to do:
- To sync, play the movie along with subtitles in it.
- If you see these first, click “H”.
- If you hear the dialogue first, click “G”.
- If dialogue comes later and subtitles first, press “H”.
- If dialogue comes first and subtitles later, press “G”
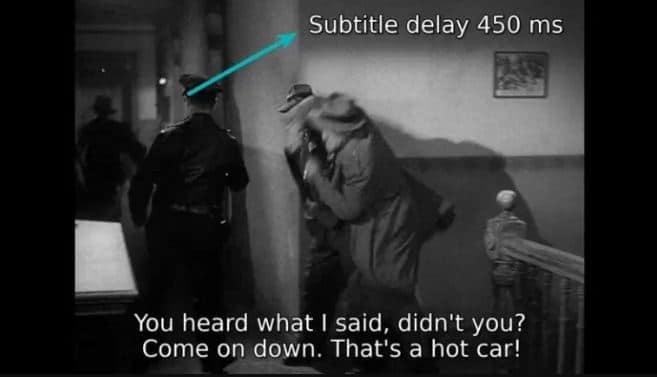
All these shall be delayed or forwarded by 50ms. Users can sync these with any picture like this. Now, this is not a long time, and you might feel that nothing has changed. If you want to move these ahead or back more quickly then “hold the H or G key” for some time.
This only works when the delay between them is constant i.e. the sub intended for a movie with the same rate of frame. If you want complex editing, you must use a proper editor.
If you are interested in this then let us suggest a hand-free tool known as Penguin Subtitle Player, this can be used to add a transparent layer that stays on the top thus you can watch any video on the internet with these very easily.
ALSO TRY: New 1337x Proxy and Mirror Sites List (Working).
Syncing with Subtitle Workshop
For this, we will be using the subtitle workshop. This software handles everything related to its creation, editing, and saving.
- It would be best to open this, and load the media by clicking on movie > open.
- Load them by file > load subtitle.
- You shall see that there are many buttons and tools for this. Just ignore them. The best to do this is to introduce delays into their timings.
- First things first; determine the lead or lag of it to the video.
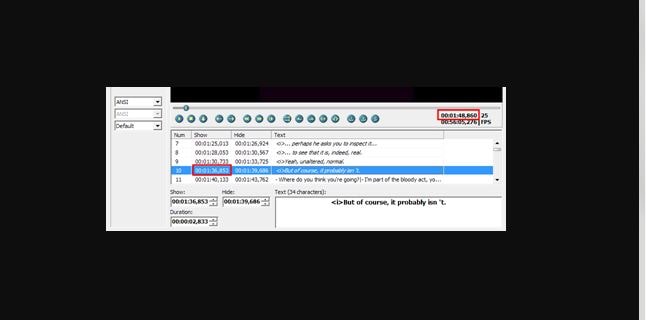
- Play it and note down the time when a line should have appeared.
- After this note the time shown under the column “show” for that line.
- The difference between the two times shall give the user the delay that must be introduced.
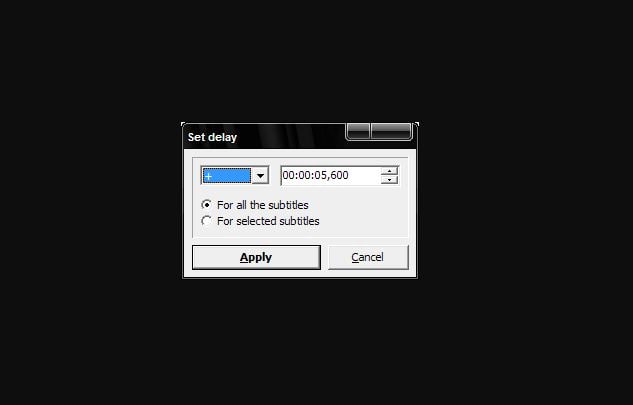
- Click on Edit > Timings > Set delay and add or minus the calculated value.
- Choose “ for all the subtitles”, and click “apply”.
- Play to ensure that they are synced properly. If not, then you need to repeat the process to fine-tune it.
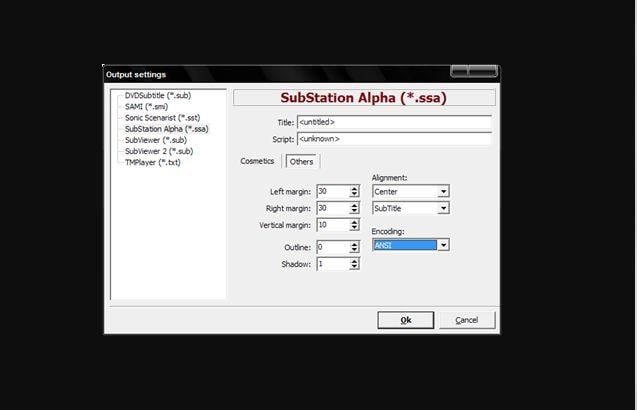
- After this, you need to go to settings > output settings.
- Click on “substation alpha (*ssa)” to customize their appearance.
- You need to use a clear font such as Trebuchet MS or Tahoma and set the color and size. (18 or 20 would work well).
- To save the file, click on file > save as and then choose “substation alpha” format.
ALSO TRO: Download Calibrize – Monitor/LCD Calibration Utility.
Adding Subtitle to be permanent
- You need to download VirtualDub and the subtitler filter.
- Copy Subtitler.vdf to the plugins folder inside its installation directory.
- Please open it and load the movie.
- After this go to video > filters.
- Click on “add” and select “subtitler” and hit “ok”.
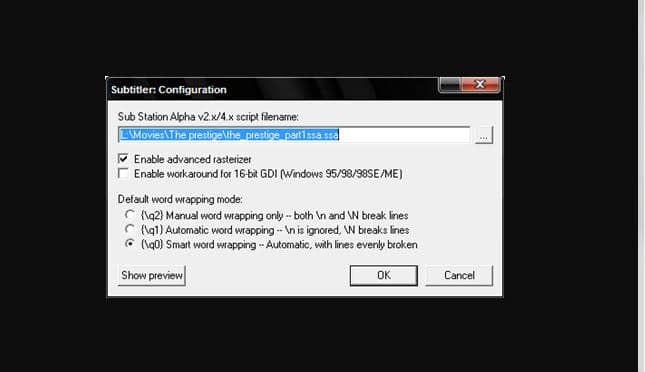
- After this, you need to load the file you just created click on “show preview”.
- It shall appear in the video with the same appearance and settings that have been applied.
- If not satisfied with it then make further adjustments in the workshop.
- Once satisfied, click on “Video > compressions”, and select the video codec you want to use.
- We choose DivX.
- If you click on configure it shall take you to more options to adjust the quality of the video.
- Use it if you know what you are doing.
- Save it as .avi, it shall take several minutes to hours to complete encoding depending upon size, speed and resolution.
ALSO TRY: Download ReFace App For Windows 10.
Summarising
This article covered 3 proven methods to permanently teach you how to sync subtitles in a movie or video. These solutions have been reported to work on Smart TVs, too. We utilize VLC and other solid ways that you can also use. Let us know in the comments below if it has worked for you.


 Free Download For Windows 10/11")
")

")


 Free Download For Windows 10/11")
")
")
")